HOW TO LAY SHEET VINYL FLOORING IN KITCHEN
Wondering HOW TO LAY SHEET VINYL FLOORING IN KITCHEN?
In this guide, we are going to teach you how to lay a sheet vinyl flooring in kitchen or bathroom. Most rooms require just a piece of sheet vinyl for the entire floor. To get started, you will have to wear knee pads; because you will spend a lot of time on the kneeling position. You will have to make use of a utility knife, to ensure the blade is very sharp before use. And endeavour to keep it safe when not in use. Whenever you are cutting anything with it, ensure you do it carefully so you won’t get injured if the knife slips off accidentally.
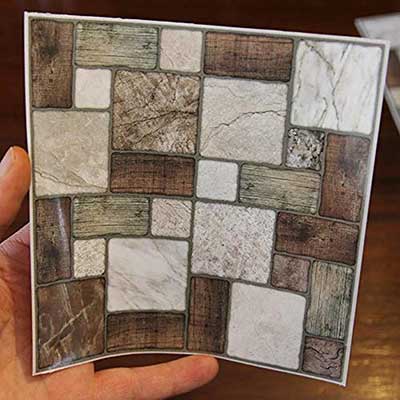
Turquoise Tile Transfers – Get here
![]()
Ensure you clean or vacuum your floor thoroughly. And if your floor has been treated with a wood preservative, it might be unsuitable to cover it with a vinyl floor. But you should confirm this by checking the manufacturer’s instructions. Ensure the floor surface is free from objects such as nails, debris, screw heads and other objects. This is highly significant because any objects on the floor no matter how small it is will be visible. Use a hammer and a nail punch to punch any protruding nail head on the floor surface. Remove any form of grease, oil, or solvent substance from the floor with a good cleaning chemical or floor cleaner. The surface should be free from damp as well.
Let’s test this simple method and see how it goes.
Line up a piece of nylon on the floor surface of about one sqm in size and seal up the edges using a tape. Allow it to stay overnight. Any trace of moisture under the polytene should be addressed before topping it with an additional floor. In case your floor is already damaged or has a rough surface, it would be best to leave it for a while. See how you can level a wooden and a concrete floor. You will have to take an accurate measurement of the room. Measure the length and width first of all. Ensure you have the correct values and consider any deviations as well. Measure the length of any doorways and add 75mm to every edge to enable a smooth cutting process. With this measurement, you can easily buy a sheet vinyl.
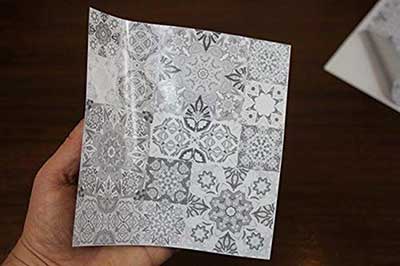
Whites Greys Tile Stickers – Click here
Before you lay your vinyl, first unlay it in the room you want it to be fixed into; and leave it for about 24 hours to climatize. This is also important if you have underfloor heating. Then, rough lay and adjust the vinyl and ensure it close to the wall as much as possible. But you will need to cut round seatings such as a toilet if you have such. Let us show you can you can do it using simple steps using a sink pedestal. First, cut out several slits using a utility knife in the vinyl around the pedestal at the point where the vinyl and the pedestal meet. After that, use the utility knife to break out any vinyl edge, so it smoothens with the sink pedestal all round. Then press the vinyl hard against the floor and hold up the flaps around the pedestal. Ensure the folds at the back of the pedestal are as neat as possible. Trim down the rough edges with the utility knife to give the vinyl a great shape on the floor. Follow the same process for any object that you have obstructs the smooth laying of your vinyl. When you have entirely placed your vinyl around these s=obstacles in the room, you need to ensure the edges are correctly trimmed. If you notice that you will have to make several cuts, then we recommend you use a vinyl cutter instead to have a smooth edge surface. Avoid making such adjustment to wet areas such as the bathroom as water can cause severe damages to the vinyl.
Every sheet vinyl flooring needs to be done in a way it would be completely stuck to the floor. Ensure it is bound to the floor using an adequate vinyl floor adhesive by spreading it all over the floor. Sometimes, you only need to use the glue to attach the vinyl at the perimeter with a double-sided vinyl floor tape. You are supposed to bind cushion sheet type vinyl at the perimeter while non-cushion sheet type vinyl needs a complete bonding. But ensure you check the instructions from the manufacturer before using. For the sake of this guide, we are going to use a sheet vinyl that requires a perimeter bonding. T start, we have to fix the double sides of the tape to commence laying. If you have a smooth floor surface that is free from dust and non-porouis, you can stick the dual sides of the tape on the floor surface instantly. Due to the hard surface texture of most floors, we will use a spray adhesive to spray on the tape we want to use so it can get addicted to the floor. Before you use any spray adhesive. Make sure you read the manufacturers instructions and the safety rules on the can before using. Then spray the glue along the edge of the floor. Spray carefully, so you don’t spray the woods. Next is to stick the tape to the floor around the edges of the roof without removing the paper. Ensure the tape is smooth and properly fixed by using a small block of wood to run out the side of the roof. Repeat same process for other edges of the room. Then place some tape around the edges of the pedestal and other obstructions in the room. With this, you are set to lay the sheet vinyl in the room and fix it. Walk around the room and lift each side of the vinyl, remove the backing paper from the top of the tape and push the vinyl into the top.
FINISHING TOUCHES
With the above steps, we have done the bulk of the job; it’s remaining the finishing touches. If you are considering fixing the sheet vinyl in the bathroom or other wet areas, you can join the sheet vinyl to the wall using a sanitary grade silicon concealment. Ensure you cut the mouth of the nozzle at the right place to create a little opening. The, apply steady pressure and speed to the edge of the bathroom, to seal the work, you can use a circuit finger to run across the edges but ensure you put on gloves correctly. Alternatively, you could fix a trim between the wall and the edge of the floor. Connect the new floor and the floor in the next room by fixing a wood bar between the doorway.
Conclusively, It all starts with careful floor prep. With the right preparation and adhesive, learning how to install vinyl flooring can be fixed over almost any clean, dry surface. If you plan to fix it over concrete, check for excess moisture by glueing down a 3 x 3-ft. A piece of vinyl flooring and taping the edges. After 72 hours, try to pull up the vinyl. If it comes up quickly, there’s too much moisture in the concrete to install a sheet vinyl floor. In some cases, vinyl can be glued directly to old vinyl, ceramic tile and wood floors, but different fillers and glue-down procedures are needed. Check with the manufacturer for specific instructions for these types of installations.
Start by removing the base shoe or baseboard moulding and the threshold or carpet strips at the doorway. In a bathroom, remove the toilet and the sink if it’s a pedestal. It’s usually too much work to remove a vanity cabinet, which isn’t hard to cut around anyway. Even if you’re going over the old flooring with 1/4-inches underlayment, cut out or reattach loose vinyl and fill low spots with a hardening type of floor filler first so the underlayment will lie flat.
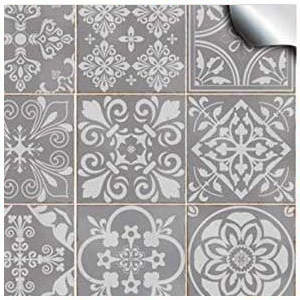
Moroccan Multi Mosaic Tile Stickers – Click here
Note: Many old vinyl floors and the adhesives used with them contain asbestos. Because asbestos can be hazardous if it’s disturbed, it’s best to cover old vinyl floors with 1/4-in. Plywood underlayment rather than tear them out. In most cases, the additional height won’t hurt anything, and at worst you may have to trim off the bottom of the doors, add an extension to the toilet flange or install a reducing threshold at the doorway.
Congratulations! You now have a beautiful vinyl floor.
More interesting articles: Kitchen Revamp Ideas Why Tile Stickers? Tile Transfer Removable? How To Apply Tile Decals? Tile Stickers So Good Idea? Grout Cleaning Ideas? Glass Splashback?